Space Map
This article explains the procedure for version 3.0
Design the Space Map as shown below:

This setup has 5 rows. From top to bottom:
- 1st Row: one ceiling tile
- 2nd Row: one or multiple wall tiles
- 3rd Row: exactly as many floor tiles as wall tiles that will be used for the rooms.
- 4th Row: one tile for the corridors
- 5th Row: one wall file for the corridors
The third and fourth rows are pairs! The plugin will always only draw the wall tile directly on top of a floor tile.
Feel free to add invisible Events for background effects, such as screen toning or background noises.
Details
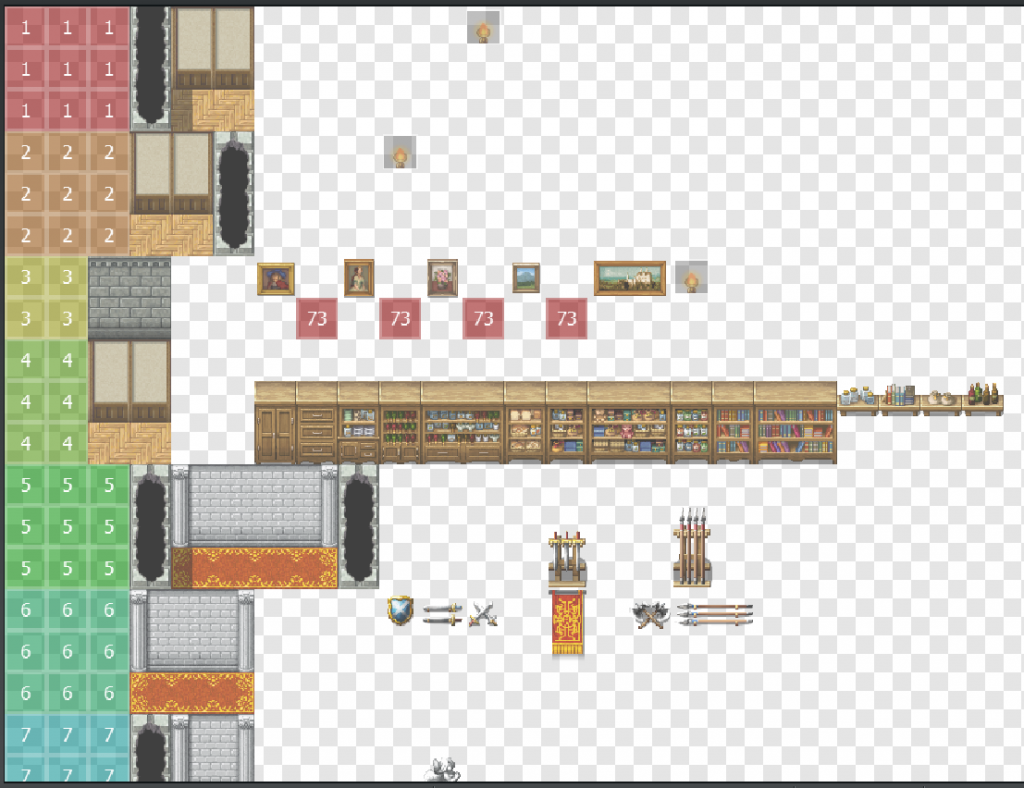
Create a Map, call it Details, and draw something like this:

Wow, this is a lot. If you want to learn how this Map works, read here: Post Processing – Details
Loot Chests, Monsters, and other Gameplay-related Objects
We define those objects in a Map called Assets.

Read more: Post Processing – Assets
Chests and monsters can spawn on any floor (but not on the water, ceiling, etc.); we need to add all the floors in our dungeon on the left of every row.
By default, this plugin offers you 3 reserved IDs:
- 20: Loot chests
- 21: Monsters
- 22: A single switch (e.g., for puzzles)
How can I change the number of spawns, and how can I add new assets?
You may use any other Region Id. To add or change Region Ids, or to change the number of how often an object spawns, go into Templates/Plugin Manager.
Plugin Manager & Templates
In the Plugin Manager -> MK_RNGMaps_withoutSnippets -> Templates you can manage Templates. Here you can change or add new rules, e.g. assets or other details such as water, dirt, …
You can look at this later because there is already a pre-defined Template for Caves that provides many rules.