This article explains the procedure for version 3.0
In this tutorial, we will build a cave. We will not use Snippets. This article explains how to define your dungeon’s overall design and how to individualize it by adding elements such as water, grass, dirt, boulders…
Space Map
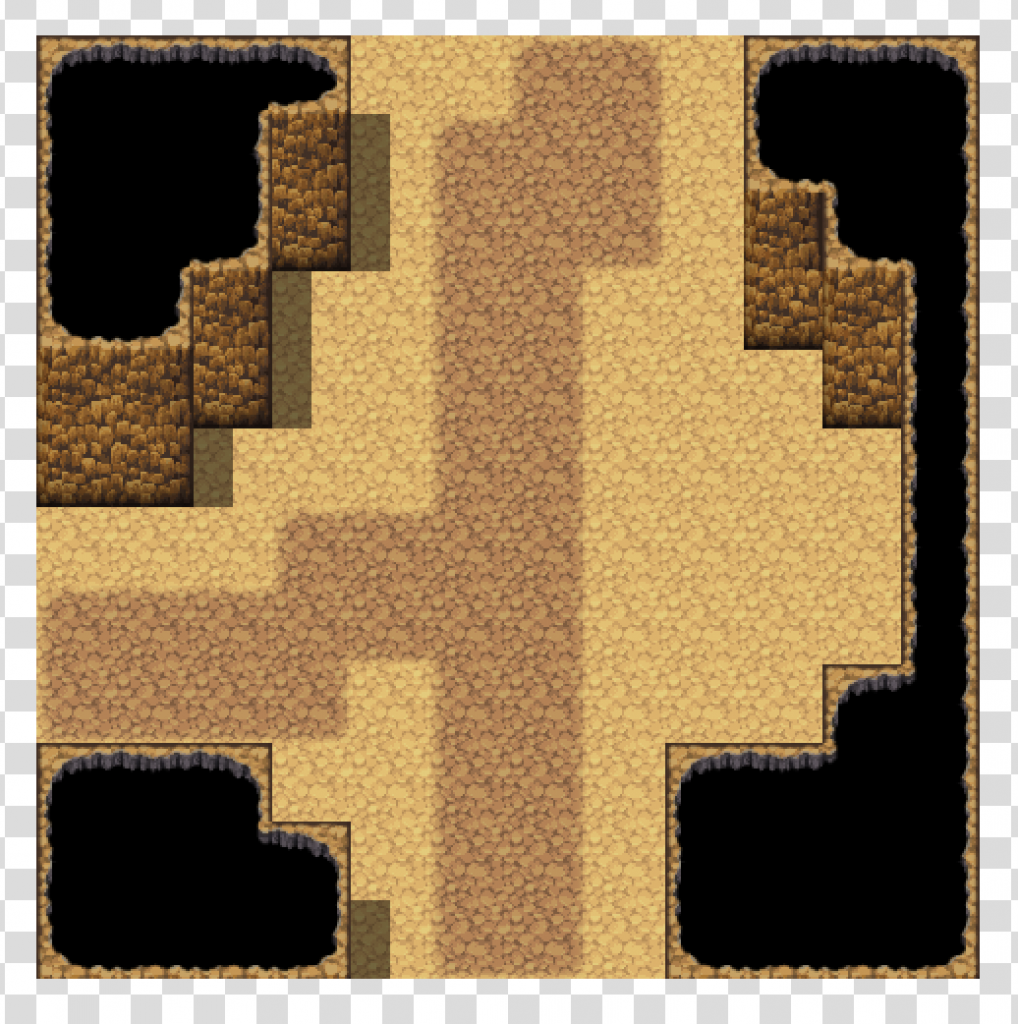
Create a Map and call it „Cave Space“, or any other name. Choose a width, height, tileset, and other settings such as BGM or random encounters. On this map, draw something like this:

From top to bottom:
- Exactly one ceiling tile
- One or multiple floor tiles
- Exactly one wall tile
Impassable Floor Tile?
You can choose impassable tiles, such as water, and the algorithm will always ensure the map is playable. However, the very first tile on the left must always be passable.
Using the same Floor Tile multiple times?
Feel free to pick the same tile multiple times, as the screenshot shows. The algorithm picks randomly, so this tile will appear more often.
(Optional) Parallel Events
You can add Events for background effects, such as animal noises or weather effects. Please put them on any other tile than the tiles we placed before.
Variations
This plugin allows you to add additional features to your output. Those usually require adding a new map as a child map to your space map, so the plugin can see and include them.
(Optional) Dirt & Shadings

Deep Dive: Post Processing – Shadings
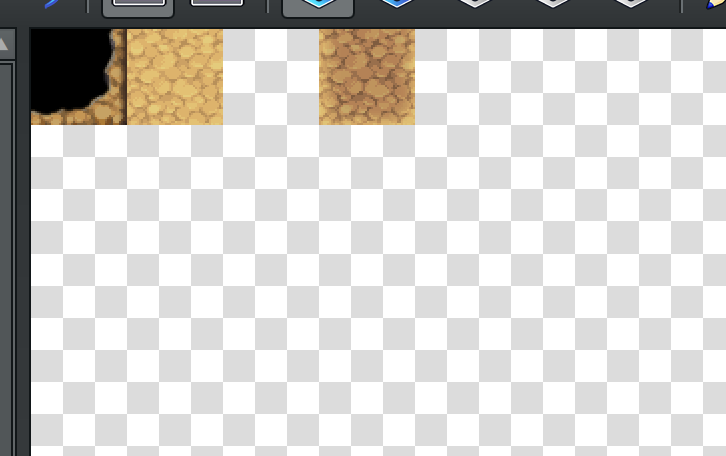
If you want to add some shading, follow this procedure:
- Create a Map, as a child map of the space map
- Call it Shadings or Dirt (both are okay)
- And draw something like this:

- The floor tile on the left
- One blank tile
- The variation of the floor tile on the right
Can I use multiple rows?
If you want to transform multiple tiles, you can add more rows.

(Optional) Grass
As an alternative to putting grass on the Space Map, you can also create a Map with the name grass (exactly this name) and draw something like this:

- The piece on the left must be your floor tile
- One blank tile
- Put one grass tile on the right
(Optional) Water
As an alternative to putting water on the Space Map, you can also create a Map with the name water (exactly this name) and draw something like this:
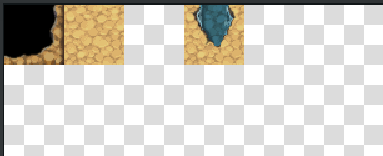
It usually looks better when you include the ceiling tile on the left, as seen in the screenshot.
(Optional) Roads
The plugin can draw roads that connect the dungeon’s exits.
To do that, create a map, call it „Roads“, and put it as a child map of your space map. Draw something like this:
(Optional) Details
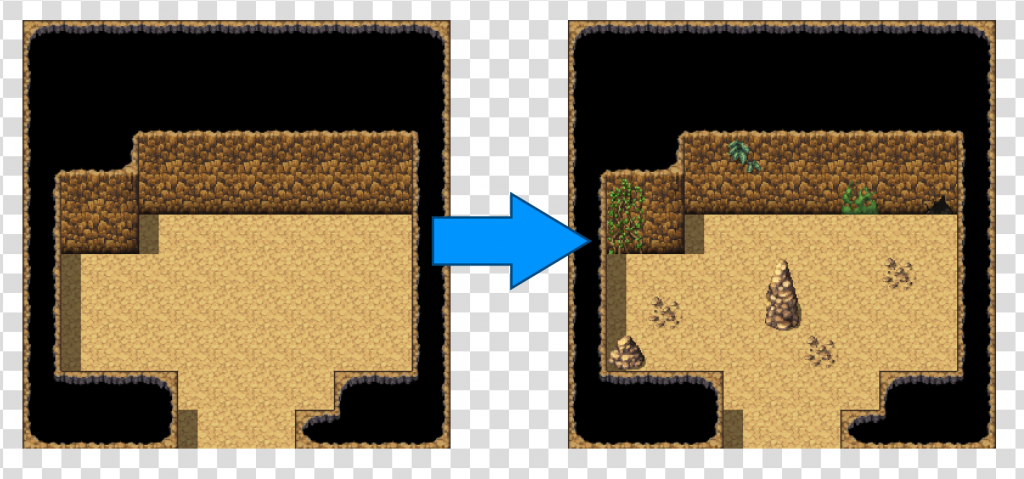
Create a new Map, call it Details (exactly this name), and put it below the Space Map. Draw something like this:

Wow, this is a lot. If you want to learn how this Map works, read here: Post Processing – Details
Some tips for you:
- Impassable objects cannot block the player. The plugin uses techniques to ensure the generated map will be playable at all costs.
- Groups 1 and 2 define green plants; however, the second group has many more plain tiles than the first. This makes plants more likely to grow when the floor is made of grass.
- The farther to the right the Region ID 61 is, the less frequently the object will appear.
Loot Chests, Monsters, and other Gameplay-related Objects
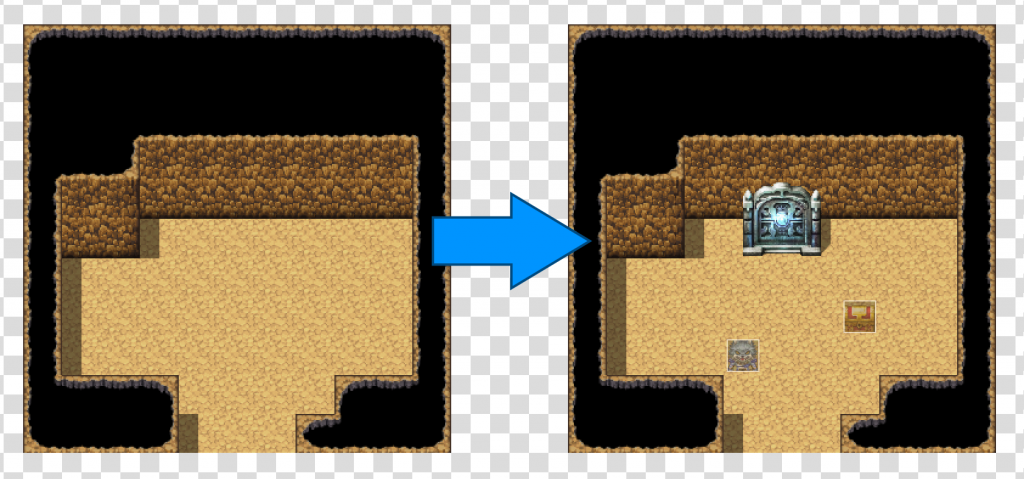
We define those objects in a Map called Assets (exactly this name).

Read more: Post Processing – Assets
Chests and monsters can spawn on any floor (but not on the water, ceiling, etc.); we need to add all our dungeon’s floors on the left of every row.
The Region IDs on the left became more relevant. By default, this plugin offers you 3 reserved IDs:
- 20: Loot chests
- 21: Monsters
- 22: A single switch (e.g., for puzzles)
How can I change the number of spawns, and how can I add new assets?
You can use any other Region ID. To add or change Region IDs, or to change how often an object spawns, go into Templates/Plugin Manager.
Exits
Of course, the player must be able to move to the next map by reaching the map’s end. To do so:
- Create a map, call it exits, and put it as a child map of your space map
- This map contains 4 events, arranged in this cross-like/d-pad formation:
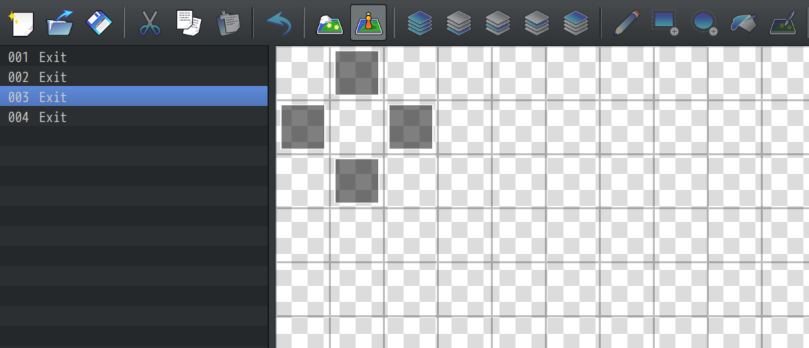
These 4 events represent the four cardinal directions (North, East, South, West) that the player can travel. The generator will automatically clone them and put them on the map ends.
These events typically contain the eventing to transfer the player to the next floor, as described in the following chapter.
Eventing
Plugin Manager & Templates
In the Plugin Manager -> MK_RNGMaps_withoutSnippets -> Templates, you can manage Templates. Here you can change or add new rules, e.g. assets or other details such as water, dirt, …
You can look at this later because there is already a pre-defined Template for Caves that provides many rules.