From the start, one of my most important goals was to provide tools you can use to generate diverse worlds as quickly as possible. On the other hand, with high flexibility sometimes comes complexity, which is why I wrote this article for you.
So, what are we going to build today? We make a simple rock cave that sometimes has crystals, plants, or other stuff. Maybe you are thinking about having multiple map setups and multiple Templates? Sure, that works fine, but we can do it better. This time, we do that with just one setup and one Template!
In this article, you have learned how to use Switches to enable and disable certain Assets. In the Snippet-less plugin, you can apply such rules for every kind of postprocessing, such as „Shadings“ or „Details.“
Prerequisites
If not already done, create all the maps you need to generate a simple map using the Snippet-less plugin.
Multiple „Details“ Maps
Have you already noticed that you can safely use multiple Details maps? I guess my question is slightly obvious to those who have already looked into the Templates in the Plugin Manager. For those who haven’t yet, let’s say you can create another map called „Details2“, „Details3“, or more precise names such as „Trees,“ „Boulders,“ or any other term.
So what’s the deal of splitting up your „Details“ map when you can store up to 256 rows anyway? Because you can decide for each map whether it will be enabled or disabled. And now, we want to make use of it!
Multiple Shadings and Biomes Maps
What I explained to you right above also works for „Shadings“ and „Biomes.“
Let’s start!
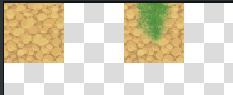
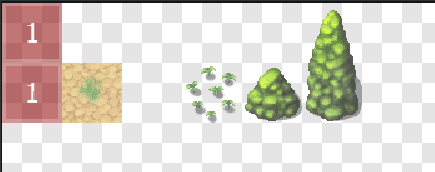
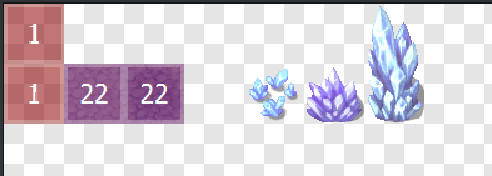
Let’s create another few maps; I will use „Crystal Floor“ and „Grass“ in my example.
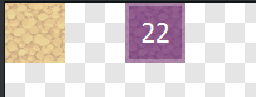
I don’t like how RPG Maker doesn’t make a smooth transition from rock floor to crystal floor; this is why I use invisible Region Tiles instead.
Now, create another two maps for the details:
Eventing
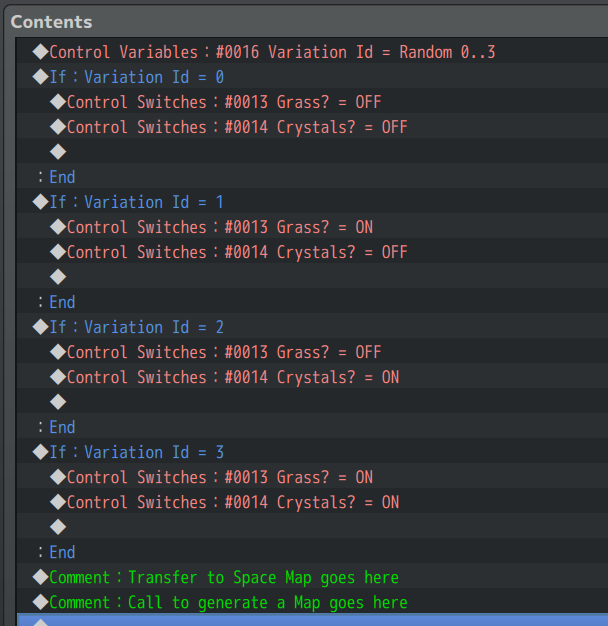
We need a Variable called „Variation Id“ that we assign a random number from 0 to 3.
- 0: no variation is used
- 1: grass details are spawning
- 2: crystals are spawning
- 3: both grass and crystals
You can do that using the default RPG Maker Variable Operation.

Switches. As we created 2 variations (grass and crystals) we need 2 Switches – one for each variation.
Conditional Branches. Use a chain of Conditional Branches to set the Switches.
Of course, it’s up to you whether you want both Switches active at the same time.
Plugin Manager: Templates
How to bind the Switches? Go into the Plugin Manager, then
- Go to the Plugin „withoutSnippets“
- When you see a list of Templates, you may want to duplicate one that you like
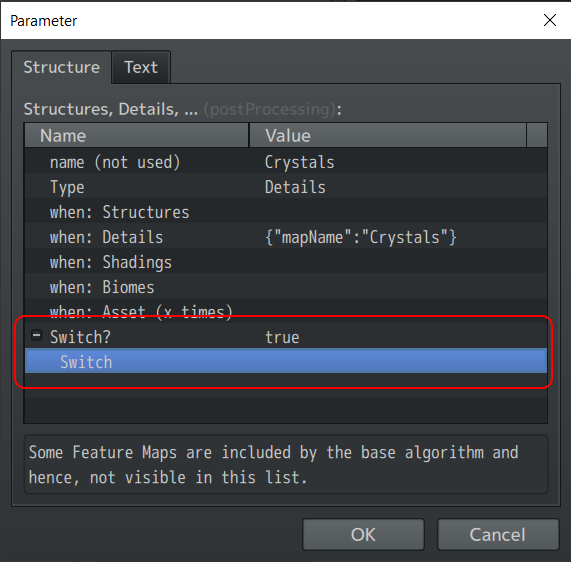
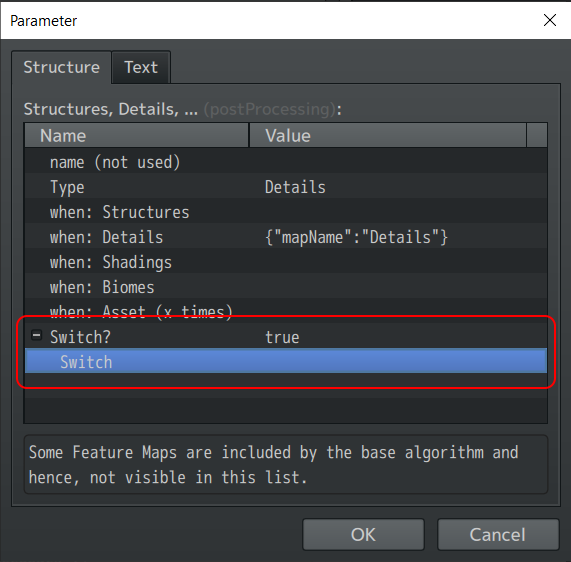
- Inside a Template, go to „Postprocessing“
Here, you will find a list of „rules.“ Maybe it already has some entries that you want to reuse, e.g. „Grass“. In the end, you want those rules (in this order) besides the common rules such as „Structures“, …
- Grass
- Crystal Floor
- Grass Details
- Crystals
This is the place where you bind each rule to the Switches.