This article explains the procedure for version 3.0
In this tutorial, we will build a world map! We will not use snippets. There’s a dedicated algorithm to generate such a map, and there are a lot of functions that we will use as well.
Space Map
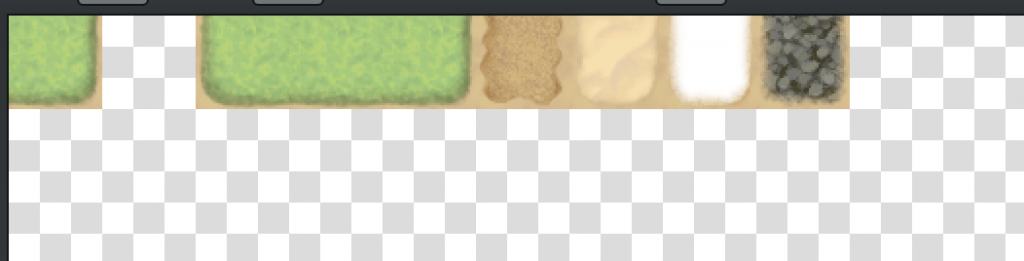
Create a Map and call it „World Space“, or any other name. You decide. Choose a width and height and other settings like Tileset or BGM. Draw something like this:

It’s one column with an adjustable length. The number and distribution of tiles are not fixed; you can have, e.g., more or fewer grass tiles. It is also not required to have exactly 3 different tiles; you can pick more or fewer tiles, especially when using a custom tile sheet with more sea or land levels.
Parallel Events
You may add Events for background effects such as noises or weather effects. Please put them on any other tile than the tiles we placed before.
Feature Maps
Additional Maps can be put as a child map below your Space map to add new features. They are optional.
Biomes
This map is optional. If active, every island will be filled with one randomly picked tile from the right. You may use a tile multiple times to get a ratio.
Mountains
This map is optional. If active, mountains are drawn on the map.

You can define only one mountain tile for each biome or skip a biome. This plugin does not support multiple kinds of mountains for one biome.
Towns
This map is optional. If existing, the plugin will spawn towns on every island. The larger the island, the more villages will appear.
Here you can find a more detailed explanation of how assets are defined. You may skip biomes, e.g., don’t spawn towns on volcano islands.
Roads
This feature is optional and requires having a „towns“ map to work. It connects every town with roads that are not separated by the ocean or mountains.

You can have different road styles for different biomes. You can skip biomes, e.g., don’t create roads in the desert.
Forests
This map is optional.

You can define only one type of forest for each biome. Multiple types are not supported. However, you can go into:
Plugin Manager -> MK_RNGMaps_withoutSnippets -> Templates -> Worldmap -> Post Processing
Here, you may add a new rule (e.g., „Forest2“) and add another map called „Forests2“ where you can choose different tiles.
Tip: I don’t want trees to grow on volcanic continents; hence, I just picked a different tile. You can remove this line entirely if you don’t want something to appear here.
Shadings
A „Shadings“ Map adds some detailing to your map. It’s usually used to add some darker grass, but you can also add small hills to it. Or even forests, which also look nice.
Rivers
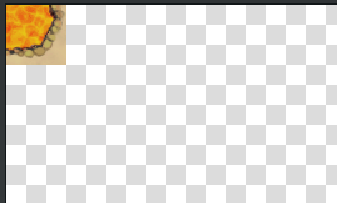
If you want to override the river tile, create a Map, call it „Rivers,“ and put your tile into the top left corner. Example:
Snow
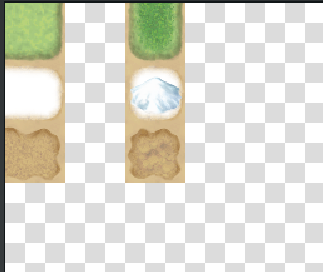
If you want to override the snow tile, create a Map, call it „Snow“, and put your tile into the top left corner.

Assets
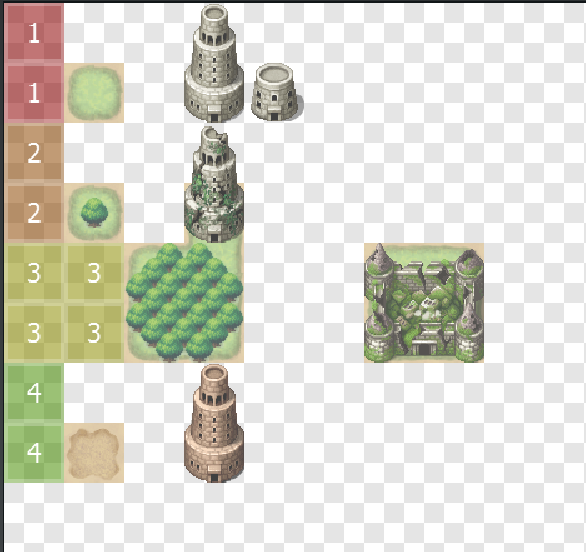
Read more: Post Processing – Assets
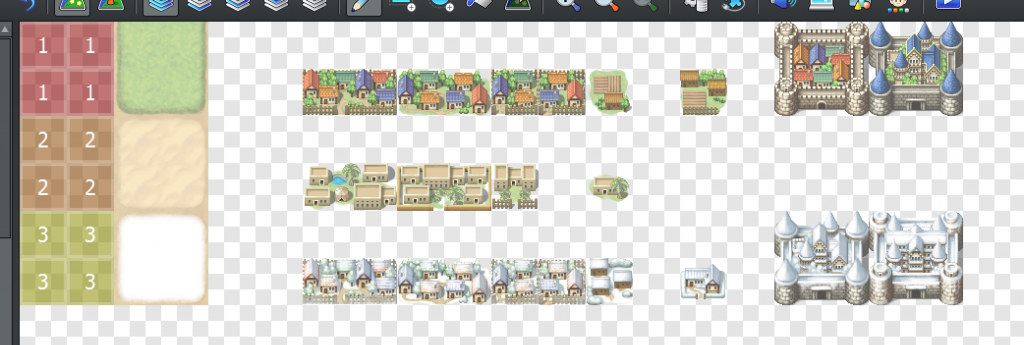
This map is primarily used to add points of interest. By default, you can use numbers from 1 to 10, and the plugin puts every object 3 times on the map. You may define where objects can spawn, e.g. the ruins only appear in forests, the brown tower only on wastelands, and so on.
You can also define alternatives for each row. E.g. in row 1, the plugin will randomly choose from the tower or the small building on its right.
You probably want to look into the Plugin Manager -> RNGMaps_withoutSnippets -> Templates -> Worldmap to adjust how often each object will spawn.
Plugin Manager & Templates
In the Plugin Manager -> MK_RNGMaps_withoutSnippets -> Templates you can manage Templates. Here you can change or add new rules, e.g. points of interest or other details.