The Meta Maze is a powerful tool for making a dungeon more interesting to explore. Maybe you have already set up your first dungeon and defined some objects, such as enemies or save points. And after some playtesting, you realized, „hmm, every room still feels the same.“
Let’s change that! The last update comes with a plugin called „Auto Switches“ that allows giving each room a particular purpose by labeling them. Let’s give an example:
Furthermore, we will lock the doors until a puzzle is solved or all the enemies have been defeated. The plugin will control this state for you.
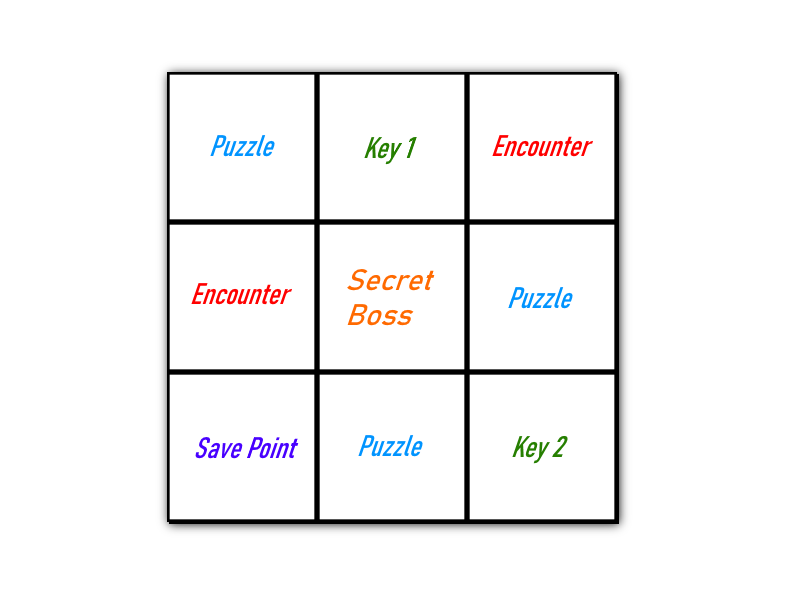
„I want my dungeon to have one room with one secret boss, 2 keys that the player must find, 1 save point, and the rest filled up with puzzles or encounters where the player has to fight some monsters.“
Of course, this is just an example; you can distribute your rooms as you like. The formula is always „x of this, y of that, z of that, …, and the rest filled up with a, b, or c, …“
Map Setup
In this tutorial, we build on top of this article: Static Map in the Meta Maze
Switches
So, how does it work? We will make a list of Switches and pass it to the plugin, which will manage them for us automatically. Every time we change the current room, the plugin will automatically turn off all of the switches from the list except one. And in the tutorial, Let’s get more Variety… by using Switches!, we already learned how to spawn assets only when a particular Switch is on.
Create a Switch for any kind of room that you want to have in your maze. That could be anything:
- Encounters
- Lever puzzle
- Switch puzzle
- PC terminal puzzle
- Save point
- …
MZ Users: Plugin Command
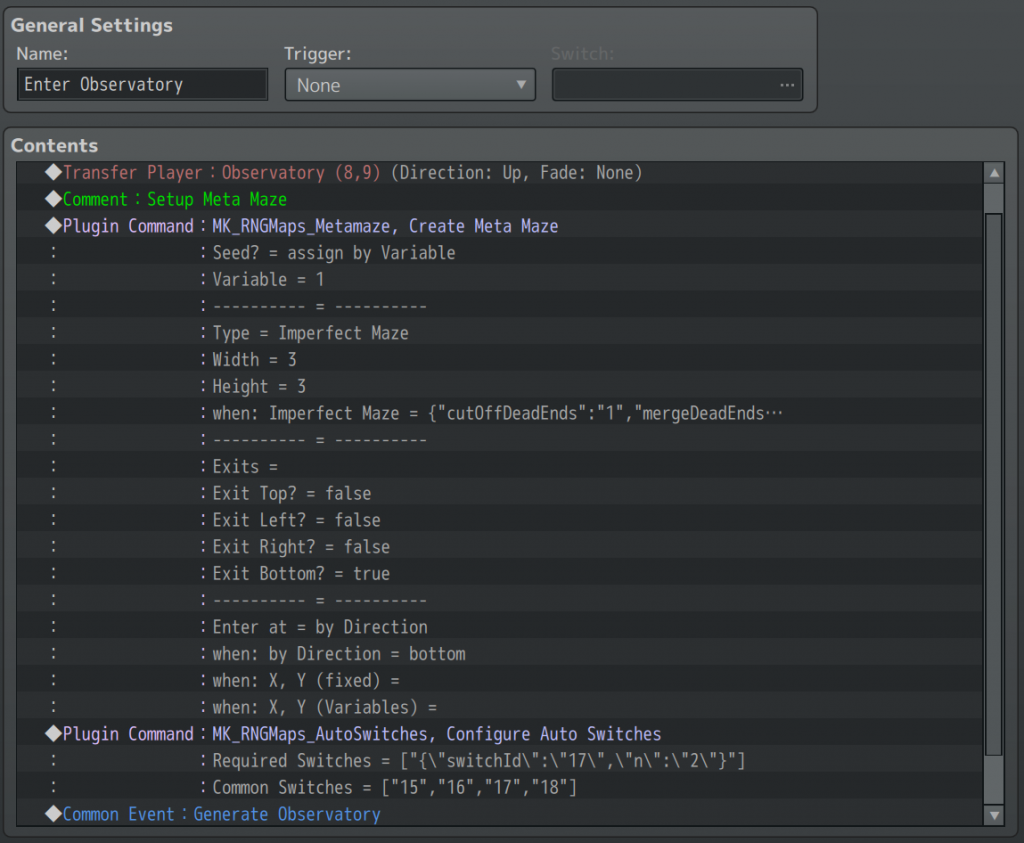
Right after you set up your Meta Maze, call the Plugin Command „Configure Auto Switches“ from „Auto Switches“.
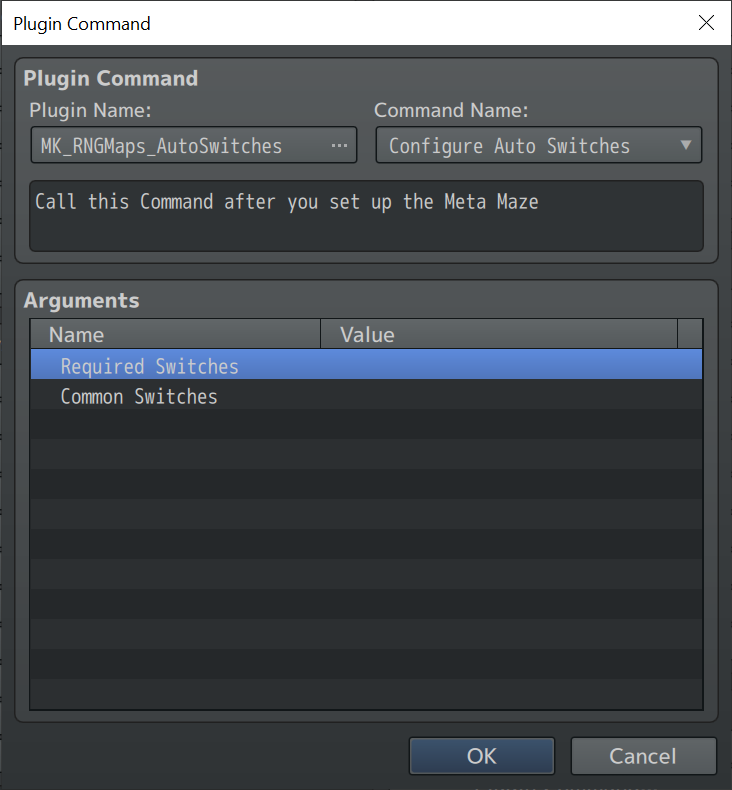
Required Switches are those that you want to have your maze to have at all costs. You can even tell how often a room should spawn.
Common Switches are those to fill up the remaining rooms.
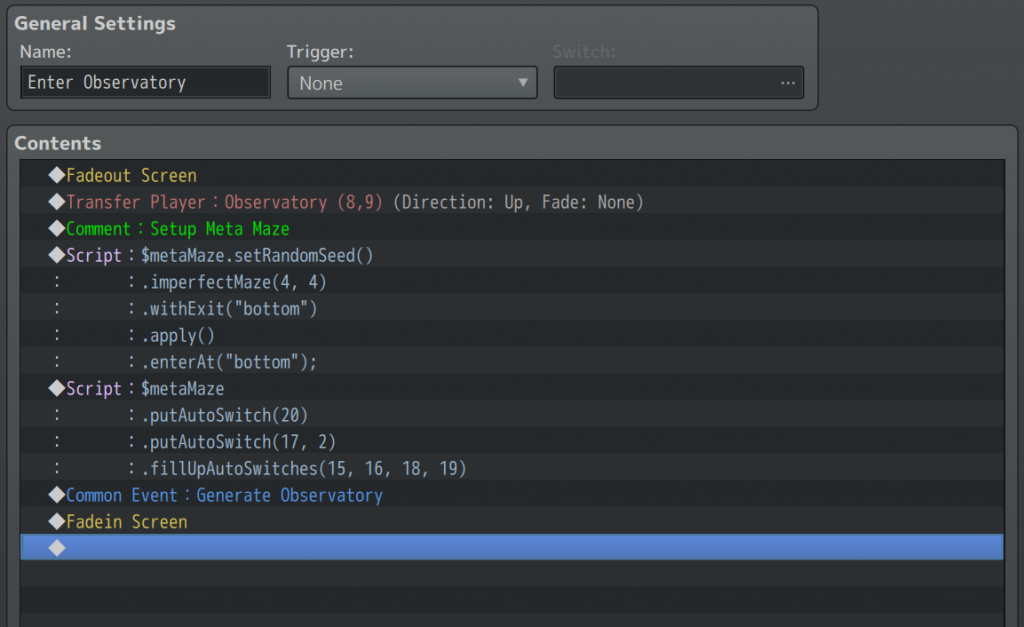
The Common Event:
MV Users: JavaScript Call
$metaMaze
.putAutoSwitch(20)
.putAutoSwitch(21, 2)
.fillUpAutoSwitches(15, 16, 17, 18)
This code will put one room with Switch 20, 2 rooms with Switch 21, and the rest filled up with Switches 15, 16, 17, and 18.
The Common Event:
Bind Switches to Assets
Let’s go into the Plugin Manager and add a new Template or copy-paste one. When defining Assets, you can set a Switch as condition.
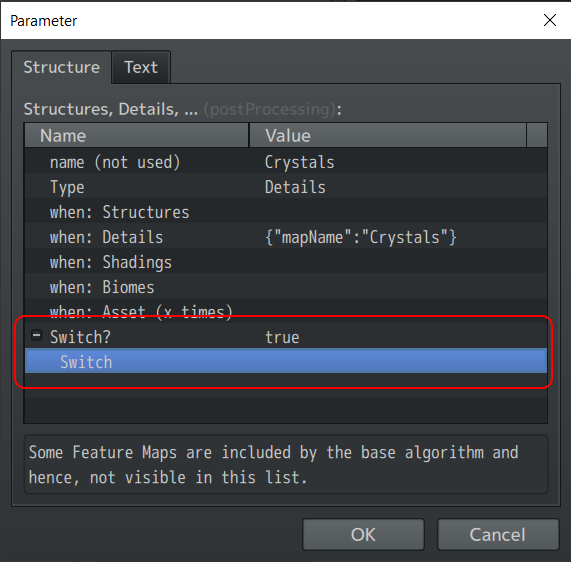
This way, we can easily make the rule that, e.g., enemies only spawn when the „Encounter“ Switch is ON.
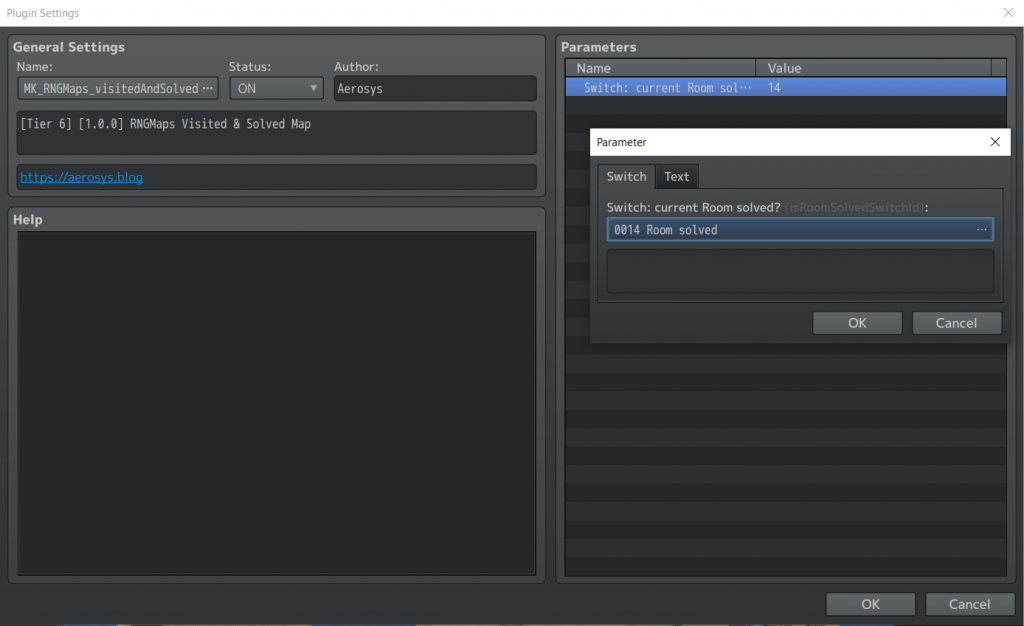
Lock the Doors
Before we talk about the puzzles, we should talk about the doors. This feature will only work when using Assets as doorways to the next room.
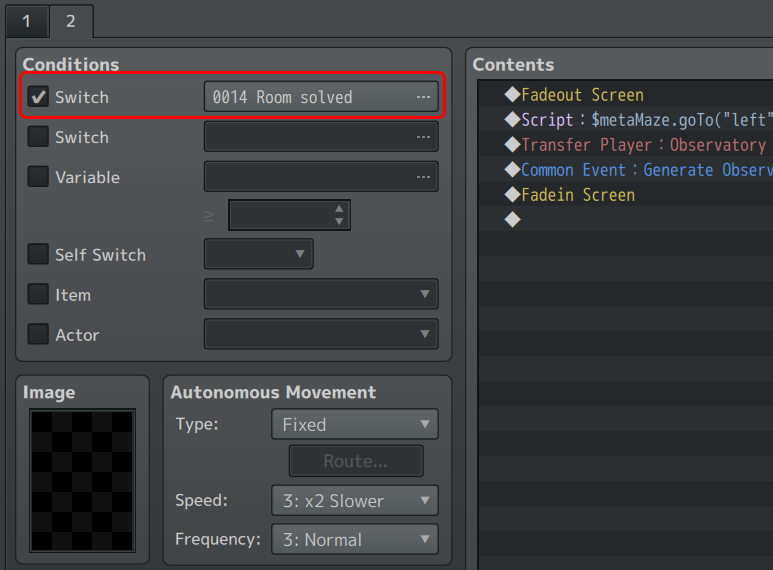
Let’s go into the Plugin Manager -> Visited and Solved -> Parameters and bind „current Room solved“ to a new Switch. From now on, the plugin will manage the Switch for you.
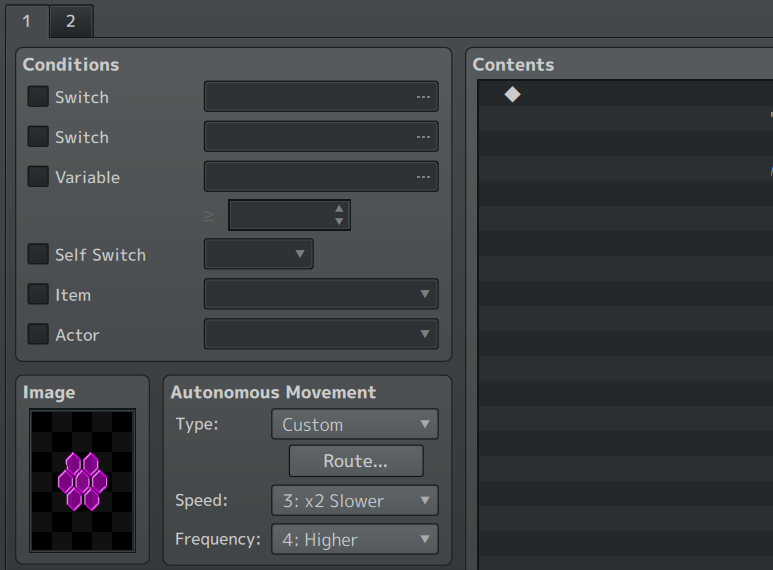
Now, go to your Assets Map and update your doors so the player cannot walk through them when this Switch is OFF. There are various way to do that, e.g., an extra Page in your Event.
The Puzzles
Let’s talk about the puzzles. I created some in the Sample project. They are fairly easy to solve, but should give you some inspiration.
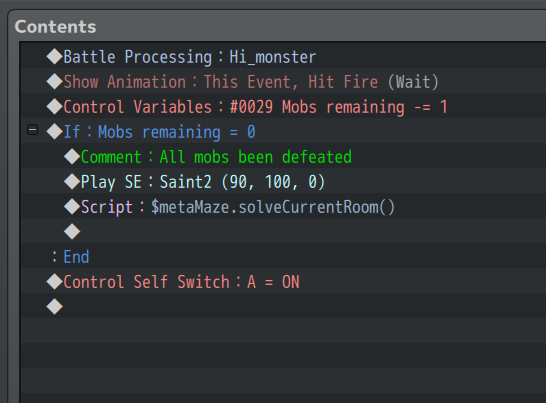
Solve Room
As soon as the player solves a puzzle or eliminates all the mobs, we need to tell the plugin that the puzzle has been solved. We also have to do that when there’s no puzzle at all, e.g., the room consists of a save point only.
$metaMaze.solveCurrentRoom()This is the Event Code of a simple Mob: